Where to create an agent
- Open AI Hub from the main menu.
- Go to the Agents area (or the list of agents).
- Click Add agent or Create agent.
Steps to create an agent
1. Choose a template (optional)
If your organization has agent templates, you can start from one. Templates prefill the agent’s goal, tone, and sometimes workflows. You can still change anything after.- Select Start from template and pick a template (e.g. Tenant support, Daily briefing).
- Or choose Create from scratch.
2. Basic details
- Name — A clear name (e.g. “Property support agent”, “Booking assistant”).
- Description — What this agent does, so your team knows when to use it.
- Type — Chat, Phone, or Email, depending on what your plan allows.
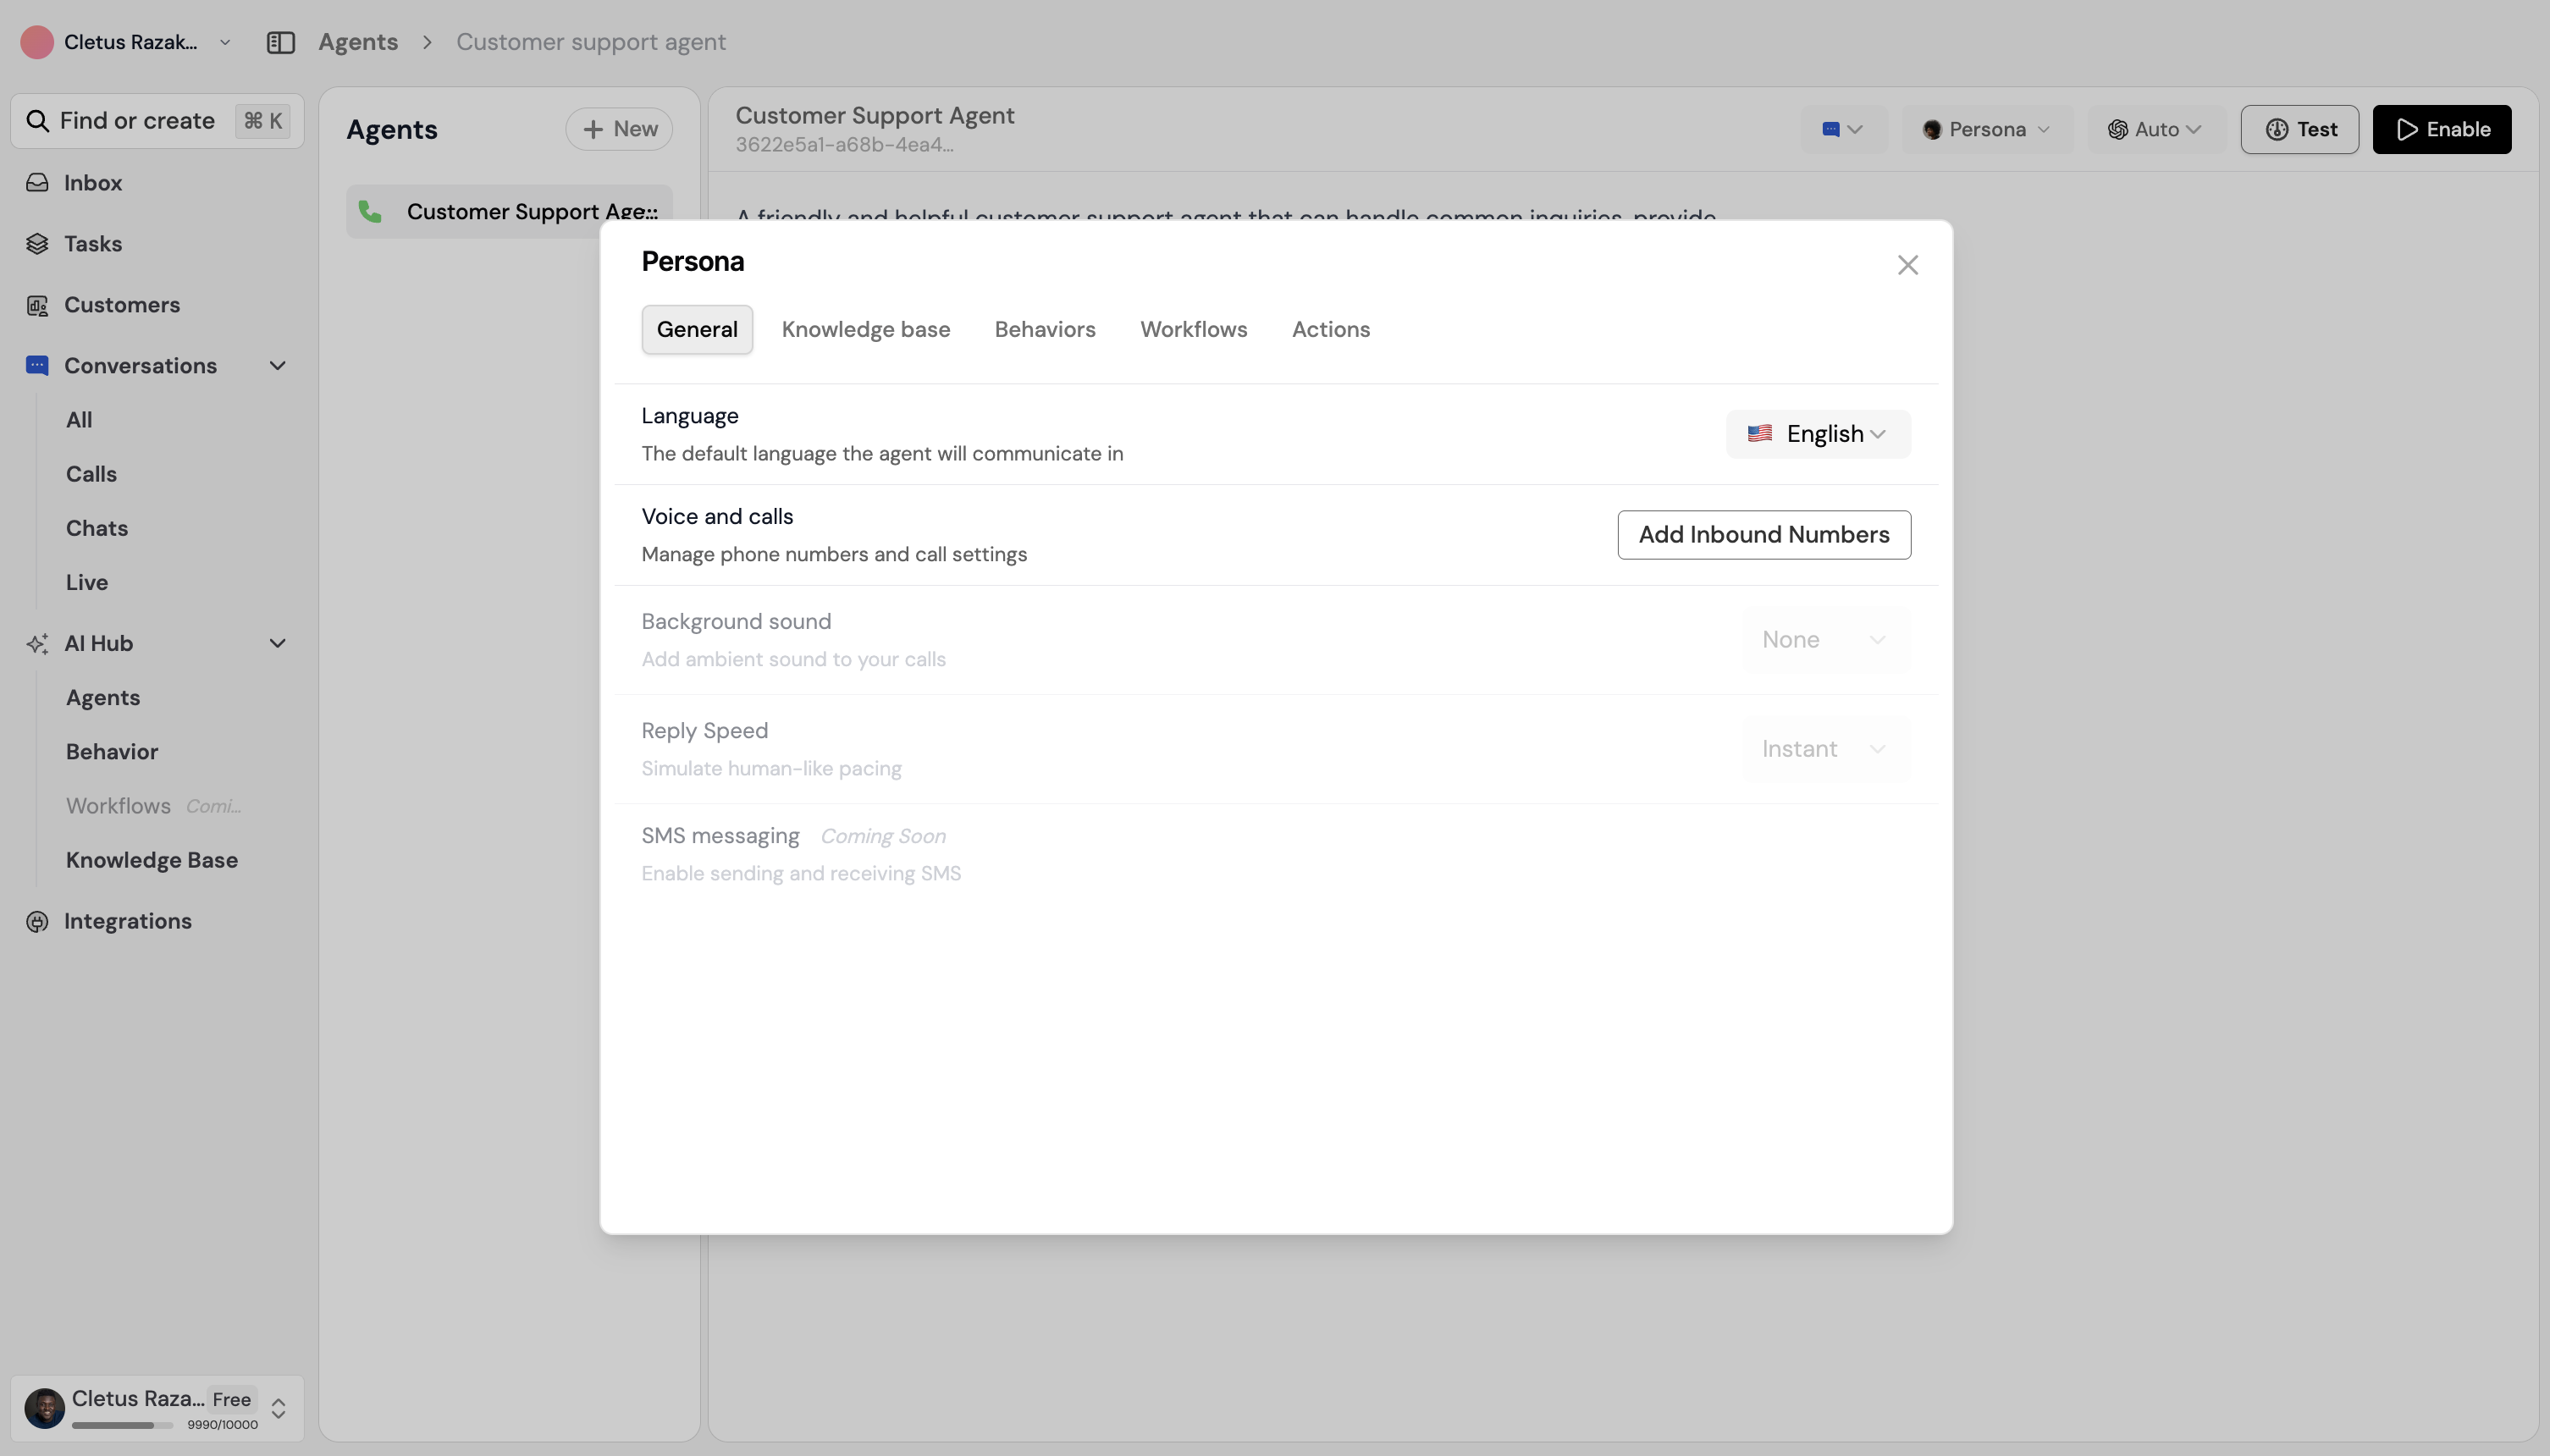
3. Persona (configure the agent)
Open the agent and go to Persona (or the agent’s settings). The persona has several tabs that control how the agent behaves. For a full explanation of each tab, see Agent persona.- General — Personality or instructions (how the agent should speak and act).
- Knowledge base — Select which folders, documents, or links the agent can use when answering.
- Behaviours — Turn on or off predefined behaviours (e.g. tone, escalation).
- Workflows — Choose which workflows this agent can run.
- Voices (phone/voice agents only) — Pick voice and language.
- Actions (voice agents only) — Configure what the agent can do during a call.
4. Activate the agent
When the agent is ready:- Set its status to Active (or Published) so it can receive conversations.
- If you use channels (e.g. website widget, WhatsApp), connect the channel to this agent in the relevant settings.
Testing your agent
In AI Hub, open the agent and use the Preview or Test chat to send messages. Check that:- Answers match your knowledge base.
- The tone matches what you set in General and Behaviours.
- If you enabled workflows, test a request that should trigger one (e.g. “I need to report a leak”) and confirm the right workflow runs.
Next steps
- Agent persona — What each persona tab does (General, Knowledge base, Behaviours, Workflows, Voices, Actions).
- Example templates — Ideas for Property OS, Beauty OS, and Grio CX.
- Behaviour — Managing behaviours.
- Knowledge base — Adding and linking content.